
Clipping and dynamics
Clipper vs limiter: how to control drum peaks
A clipper reshapes peaks that reach its clipping region. A limiter controls level with gain reduction over time. On drums, clipping can reduce short peaks before a later limiter, but the useful amount depends on how much change the attack and tone can take.
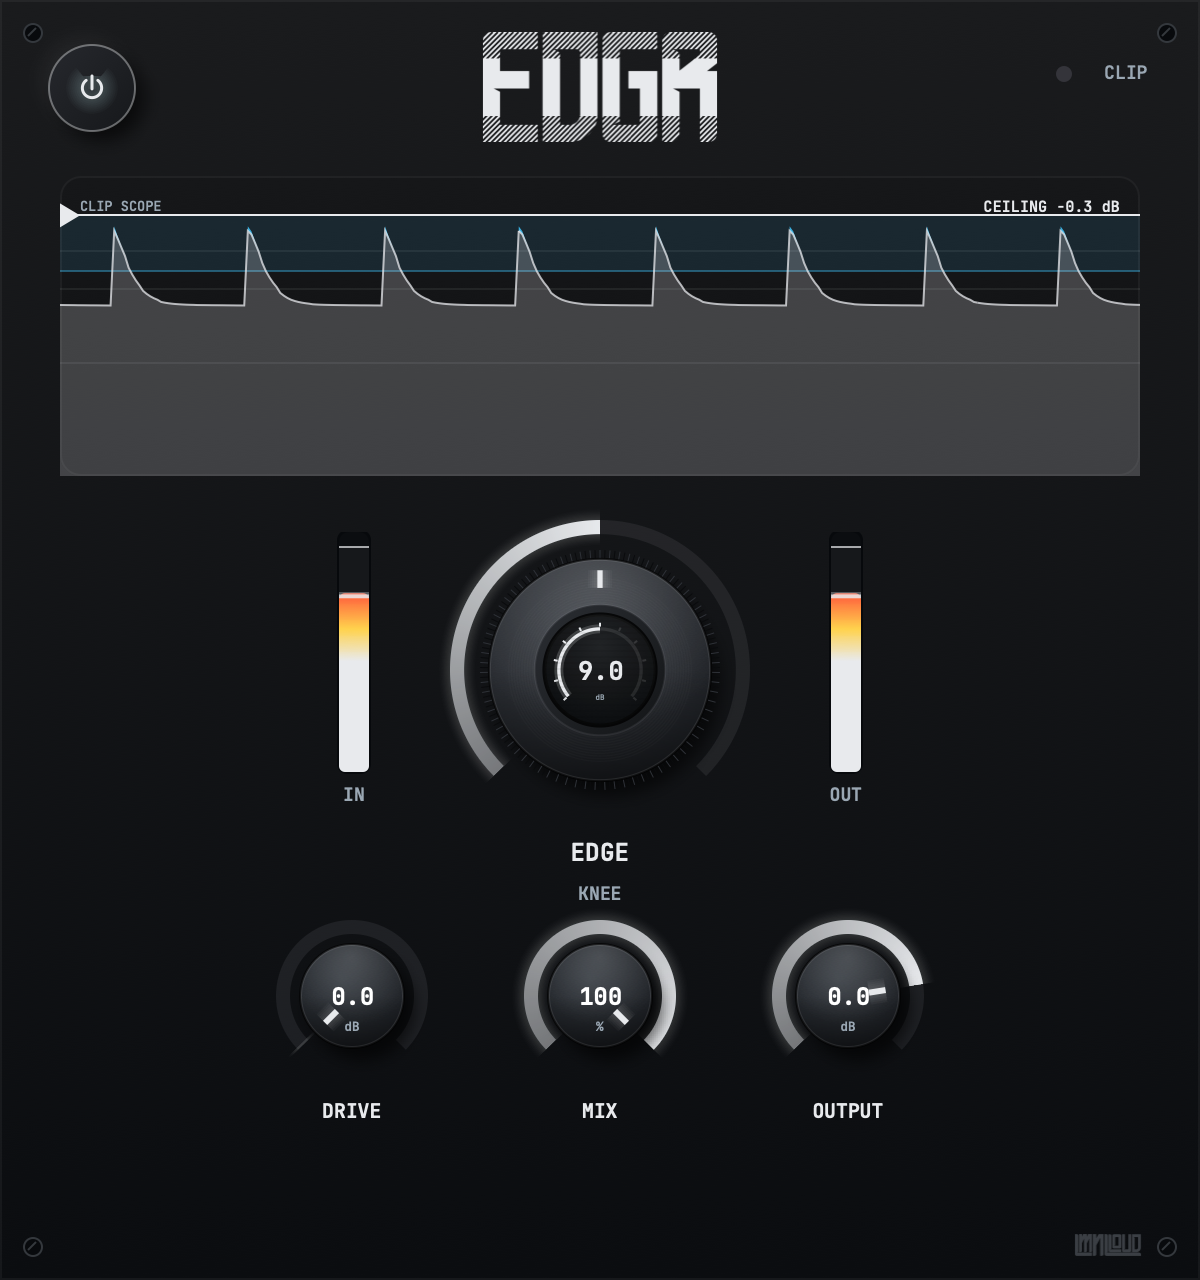
This walkthrough uses EDGR (Edger), Liminal Loud's free clipper. Its Drive, EDGE knee, ceiling, Mix and Output controls let you separate the clipping character from the final listening level.
Listen for attack before chasing loudness
Loop a drum phrase with a strong kick, snare and some cymbal or hat detail. Listen for the snare's initial crack, the kick's low-frequency shape and the texture of the top end. These give you reference points when the processing gets stronger.
A short peak may tolerate some reshaping within a dense arrangement. A sustained bass note or exposed cymbal tail can reveal unwanted distortion much sooner. Judge the whole phrase and the individual hits that matter.
Set up a controlled clipping comparison
- Insert EDGR on the drum track or bus. Keep the following limiter at a fixed setting while comparing.
- Start with Drive at 0 dB and Mix at 100%. Set Output to 0 dB, then choose the clip-stage ceiling.
- Raise Drive gradually. Watch the scope for removed peak material and listen for the point where the attack changes.
- Reduce Output for a fair bypass comparison. Decide whether the change helps when it is no longer winning through extra level.
Mix at 100% makes the processed branch easy to judge. After choosing the character, reduce Mix if you want some dry attack back. Recheck the output level after changing the blend.
Choose a hard corner or a wider knee
EDGR's EDGE control sets knee width in dB. At 0 dB, it uses hard clipping. Raising EDGE toward 9 or 18 dB starts the bend farther below the ceiling, making the transition more gradual. A wider knee can change the signal even when the CLIP indicator is dark.
Compare the knee settings at the same Drive and a matched final level. A sharper setting may suit a deliberately aggressive snare. A wider knee may suit a smoother bus treatment. Neither setting guarantees more punch; listen for the attack you want to keep.
Try the clipper before the limiter
A useful starting order is drum processing, then the clipper, then the later bus or master limiter. After clipping a few of the tallest peaks, check whether the limiter needs less gain reduction on those hits. Keep its input and settings consistent during this comparison.
If the limiter's job becomes easier but the drums sound smaller or harsher, back off the clipper. You can also process the problematic drum separately. A single snare peak may be easier to handle on the snare track than by clipping every instrument on a bus.
The clip ceiling and final true peak are different
EDGR's ceiling belongs to its clip stage. Output makeup, the dry/wet blend and downsampling follow that stage and can change the final peaks. Treat the ceiling as a processing control and measure the signal that actually leaves the plugin.
EDGR processes clipping at four times the host sample rate to reduce aliasing. It does not provide a guaranteed final true-peak ceiling. If a delivery requirement specifies true peak, use suitable final metering and limiting. FabFilter's true-peak explanation describes why reconstructed peaks can exceed individual sample values.
Stop when the sound stops improving
Listen for a kick that turns fuzzy, a snare that loses its front edge, or cymbals that become grainy. Compare with the bass playing, because extra distortion and peak control can change how the low end sits together.
Save the setting that gives you useful peak control at the character you want. If the clean version has the better groove, use less processing or leave that part unclipped.